Build your own free SOC Lab with Splunk

The term Splunk is associated with software solutions widely used in the fields of data analysis. In this tutorial, I will use what I learned during my time as a SOC Analyst to showcase how you can build your own SOC at home for free.
Lab Setup Tutorial
Our simplified Architecture will consist of the following components:
- Ubuntu virtual machine running Splunk Enterprise.
- Windows 11 Enterprise (Evaluation) virtual machine running Splunk Forwarder, which forwards data to our Ubuntu Splunk Enterprise Server.
1 - Installing Splunk Enterprise on Ubuntu
After you setup your VM's, it's time to Install Splunk Enterprise on our Ubuntu Virtual Machine.
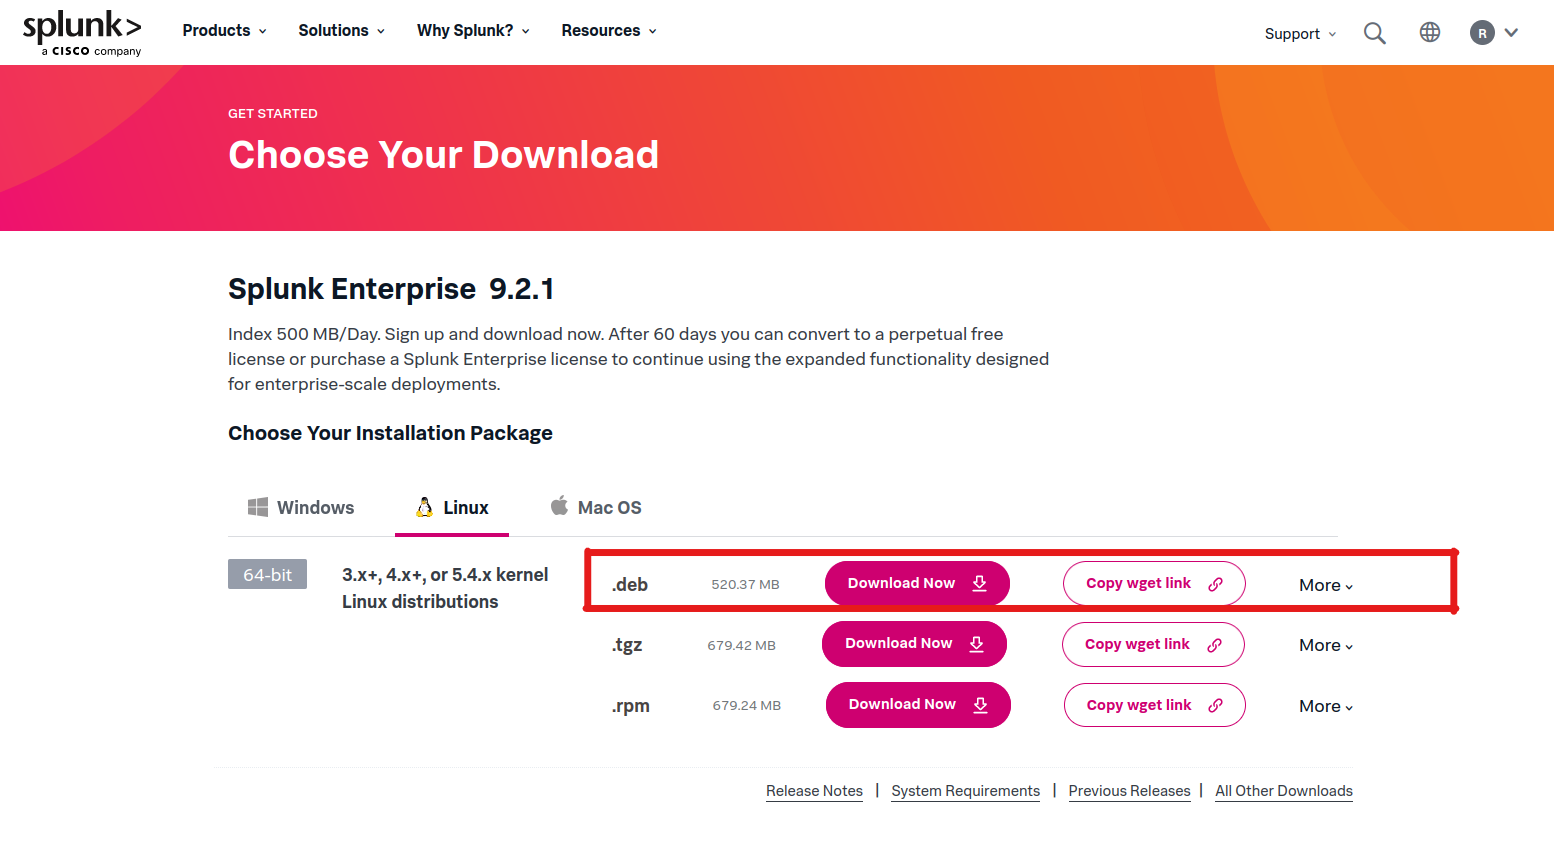
- First, you need to create a free account to download the free trial version of Splunk Enterprise. I have decided to download the .deb package:
- After the download was completed, I installed the package using the following command in the CLI:
sudo dpkg -i ./splunk<version>.debYou can verify the installation using the following commands:
dpkg --status splunk
dpkg --list- Then start Splunk Enterprise for the first time (note that the file path might vary depending on where you installed Splunk):
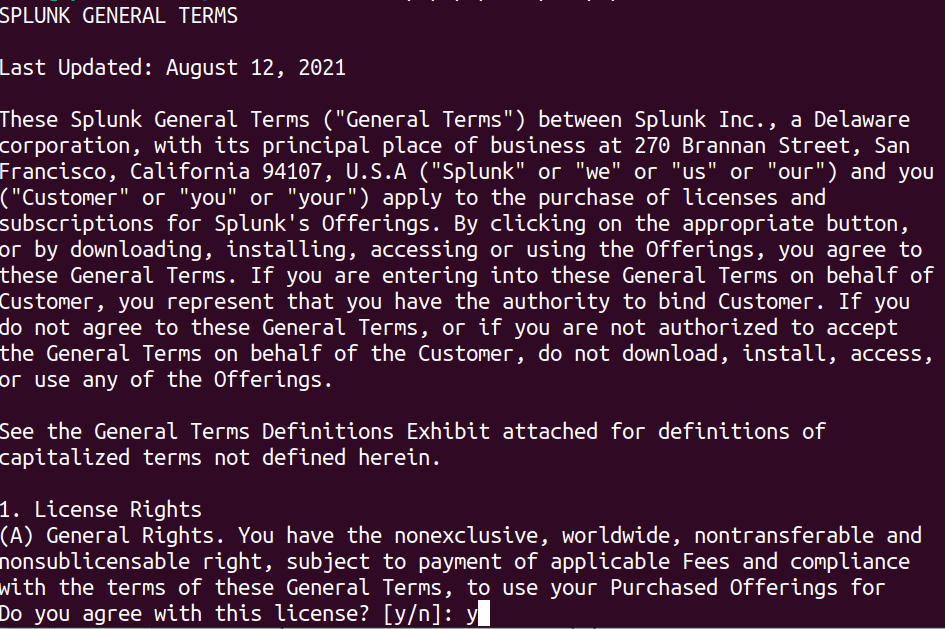
sudo /opt/splunk/bin/splunk start- You will be prompted to accept the general terms. Just press "q", then press "y" to accept the terms followed by pressing Enter:
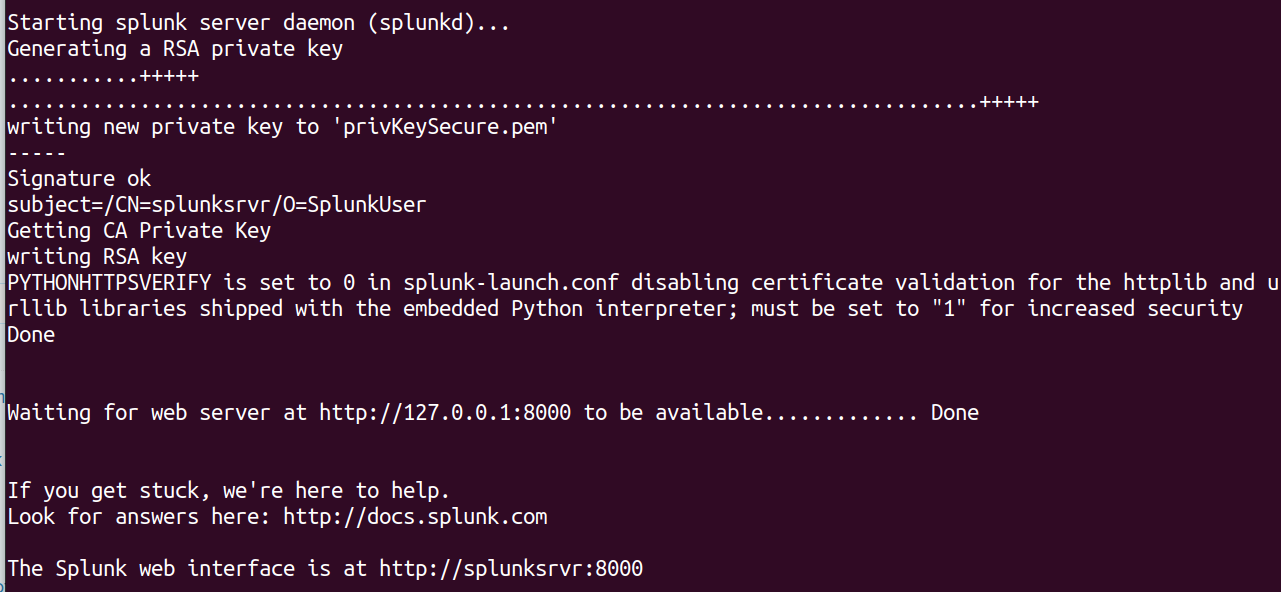
- Then setup the credentials you want to use for your Splunk Admin Account. After you entered your credentials, Splunk Enterprise will be installed and you will be given a Web-Interface URL:
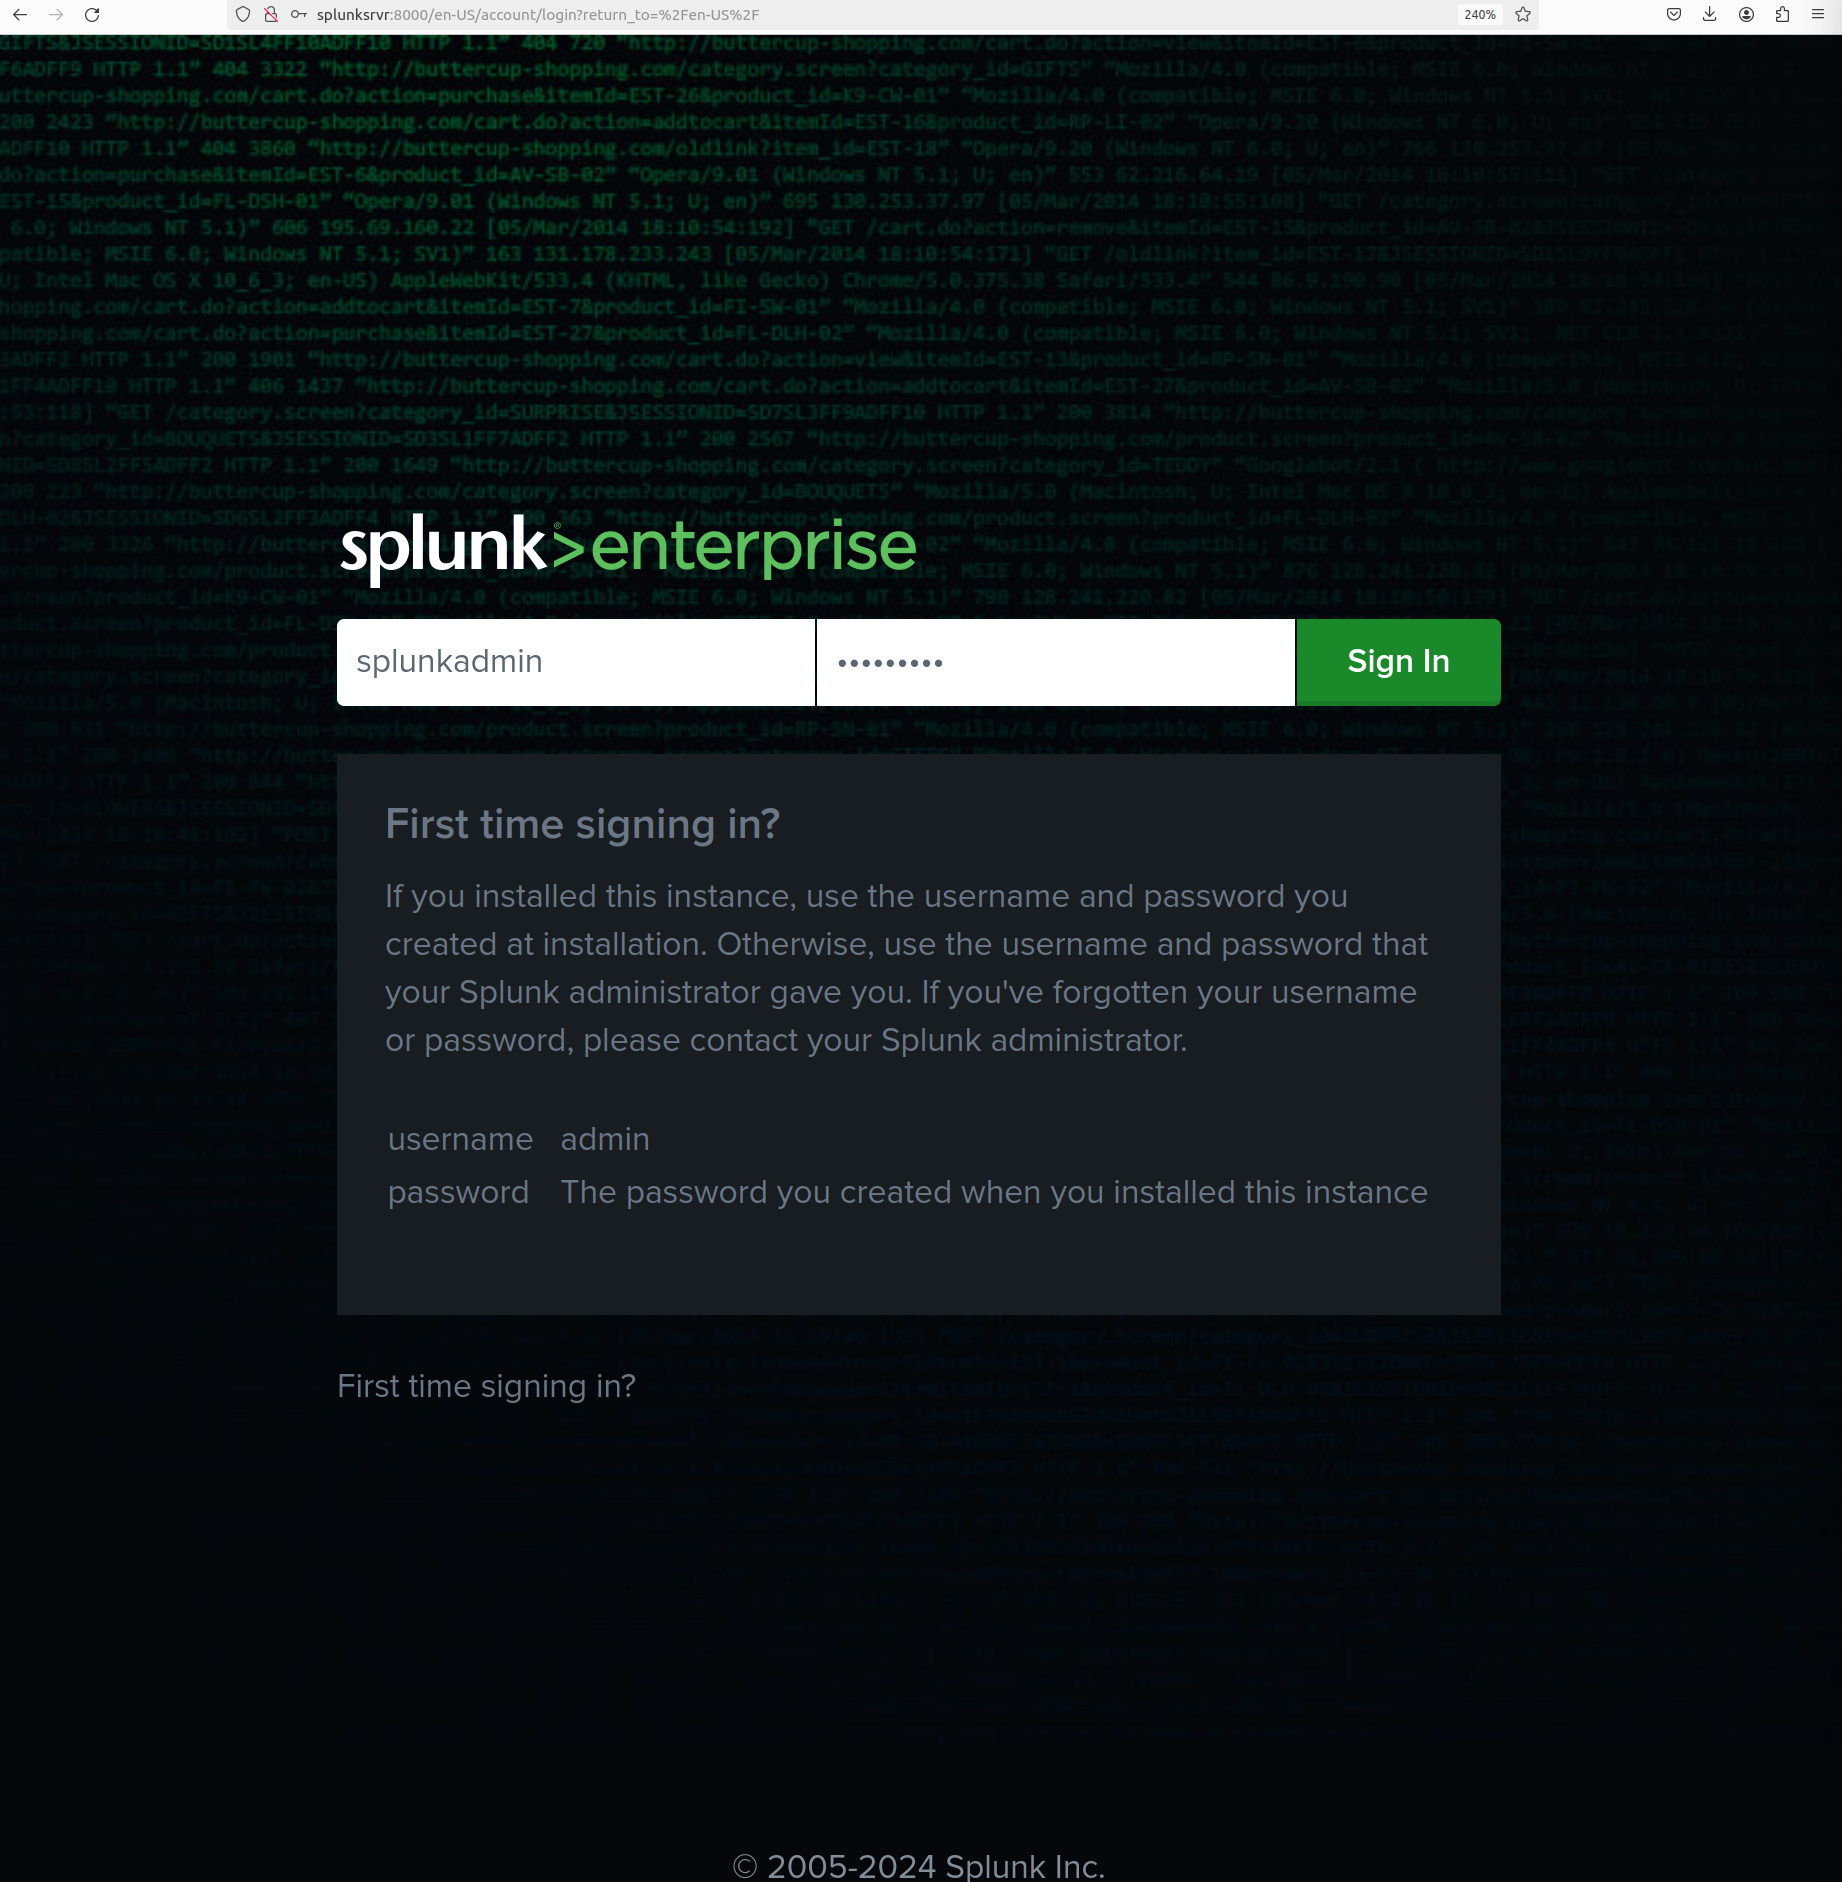
- Open the URL inside your Webbrowser. You will be greeted by a login-page looking similar to this one. Use your credentials so authenticate:
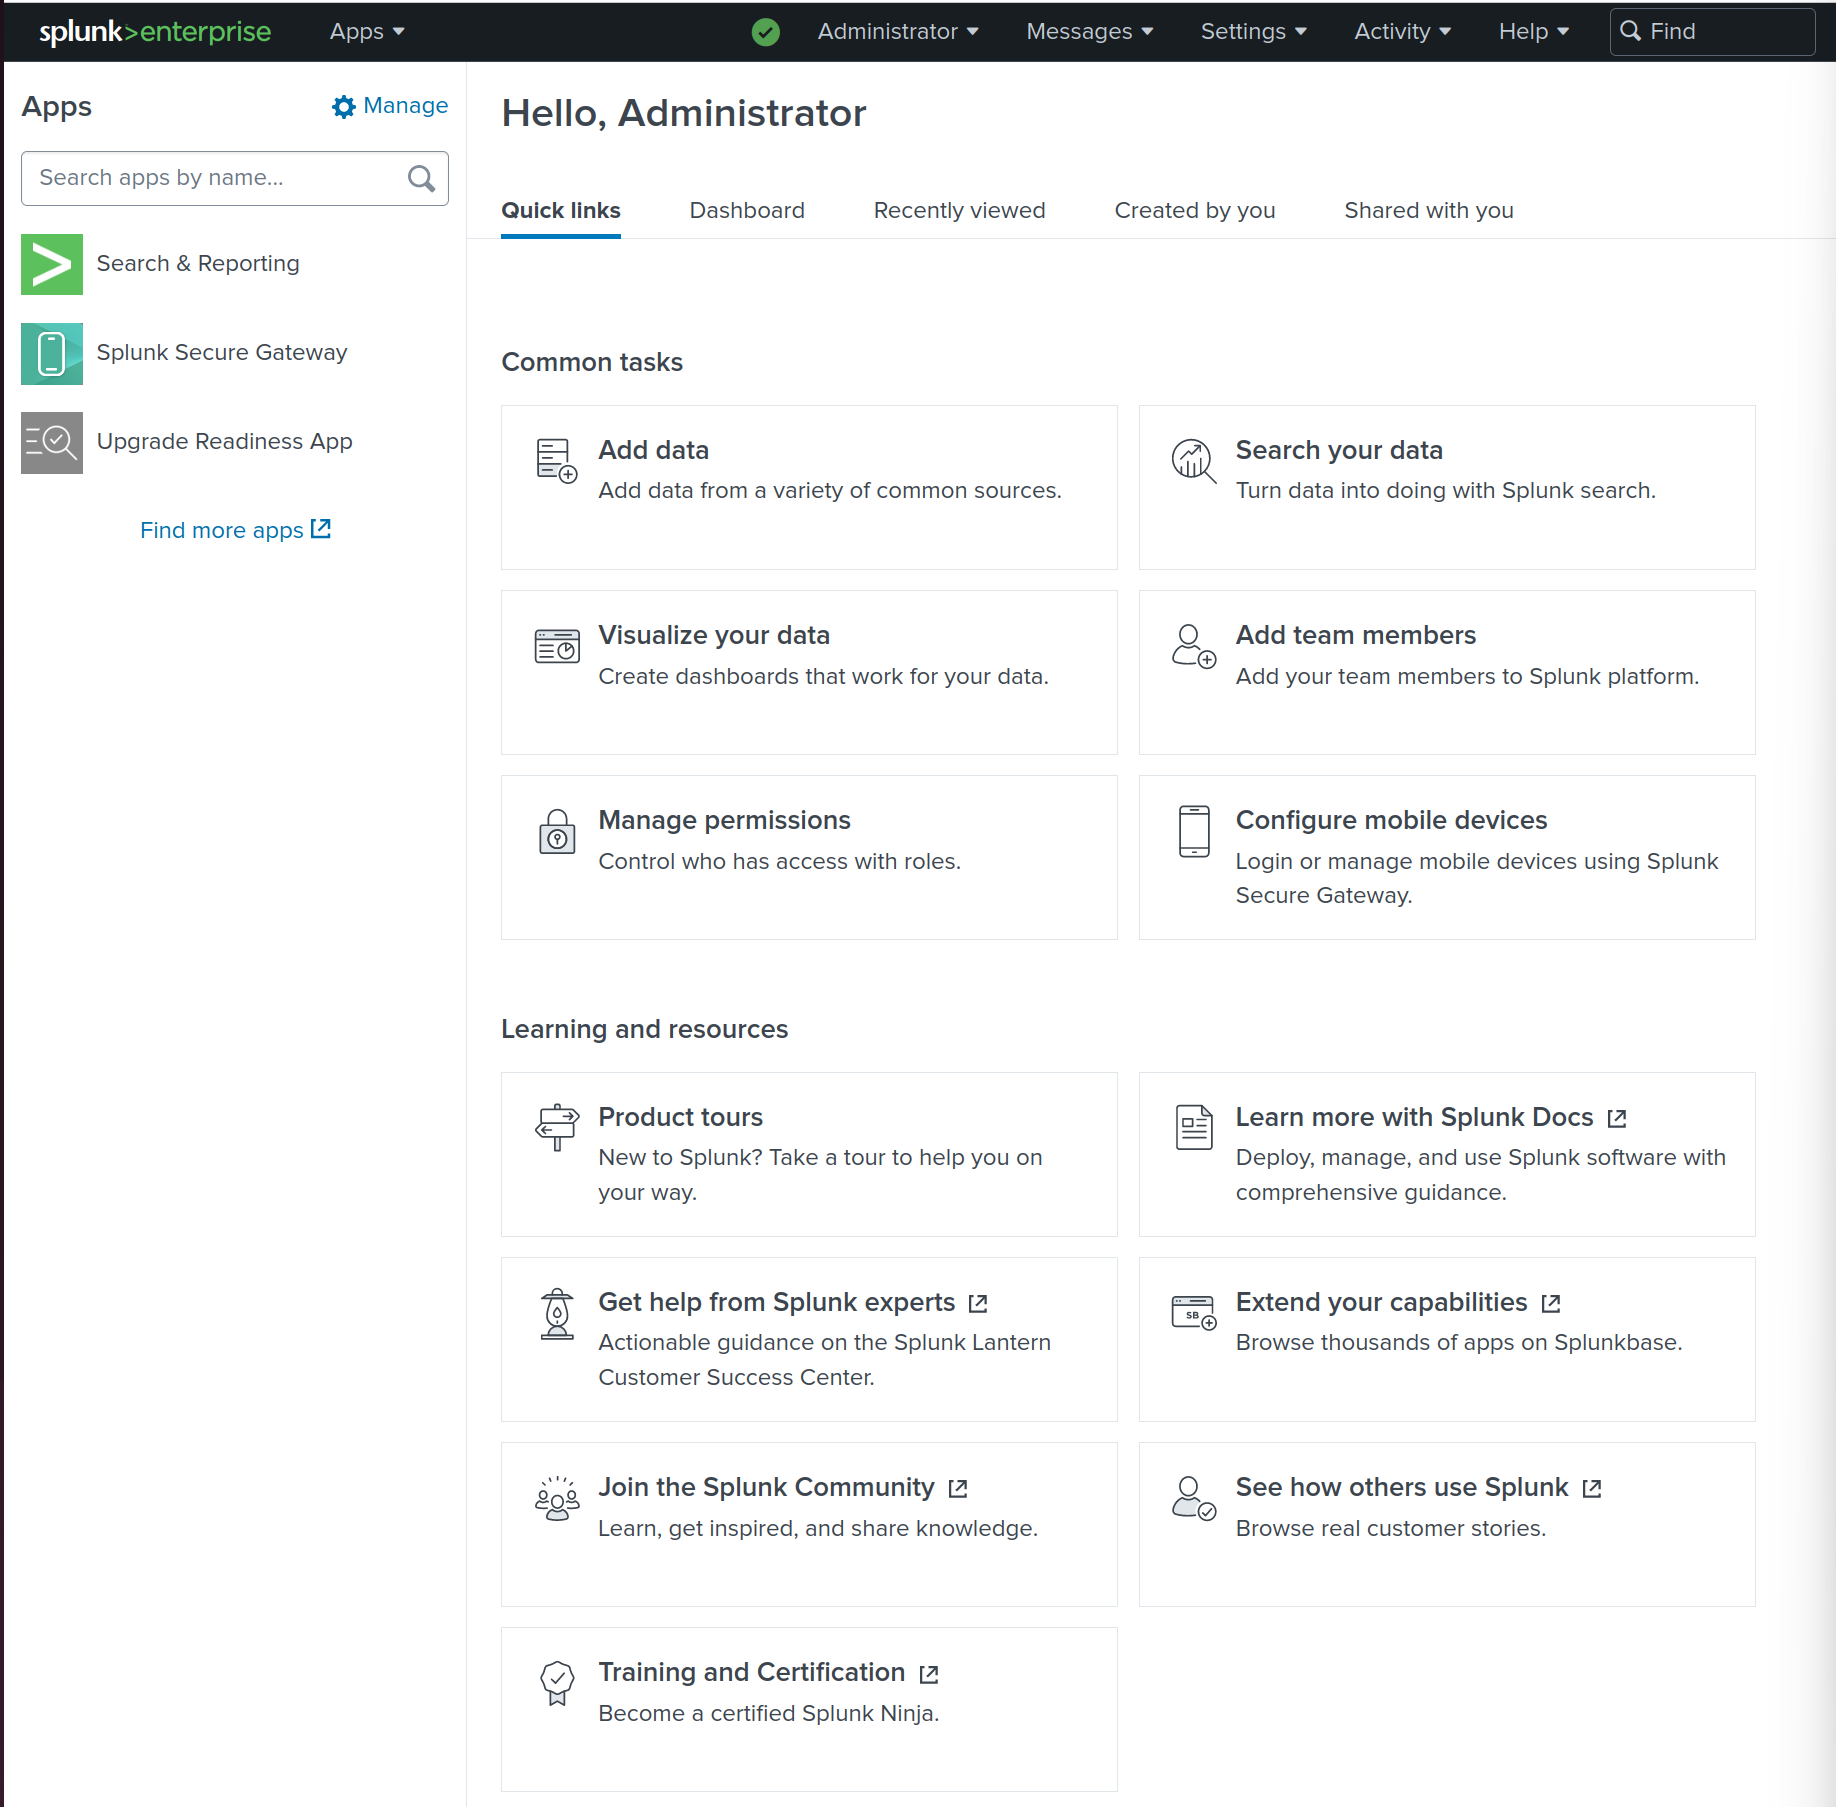
- After authenticating, you will be greeted by the Splunk Enterprise Homepage:
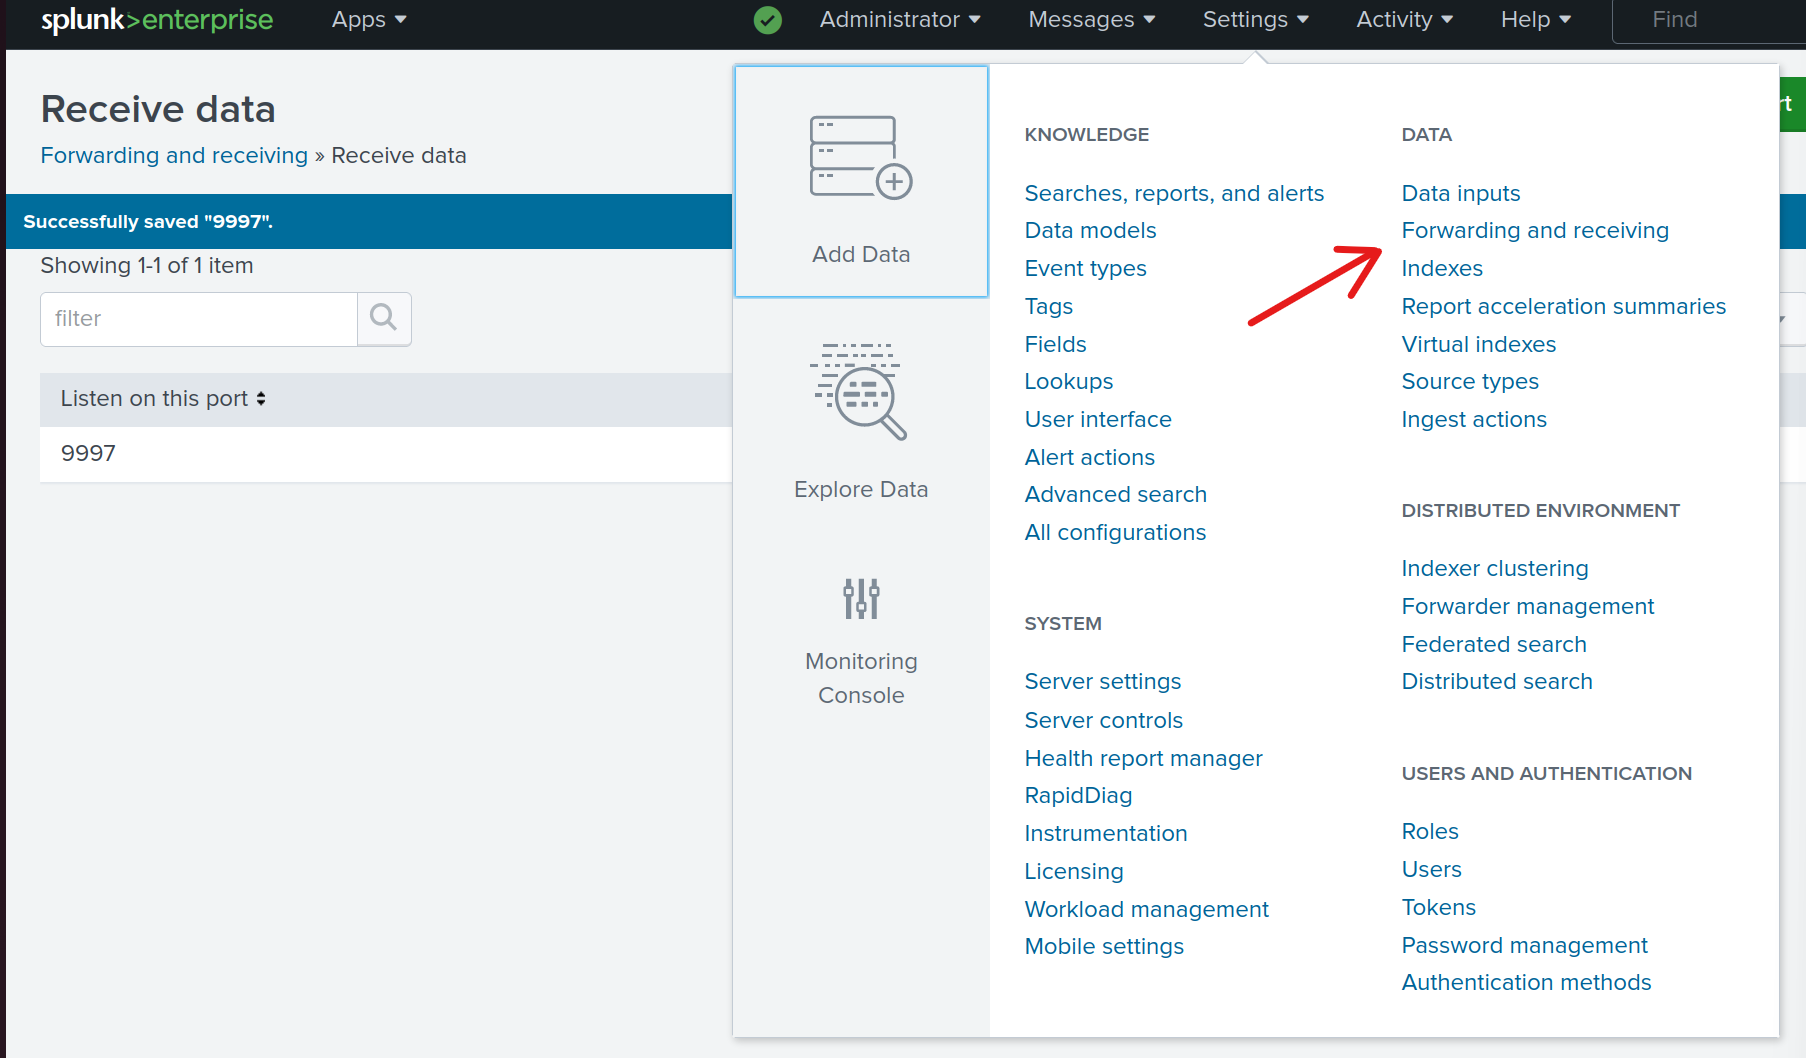
- Configure Splunk Enterprise to receive Data from Forwarders by going into Settings>Forwarding and receiving:
- Click on Configure receiving > New Receiving Port. Enter the port you wish to use to receive Data from Forwarders. I chose the default Port 9997. Click on Save, then you should see the following configuration on your page:
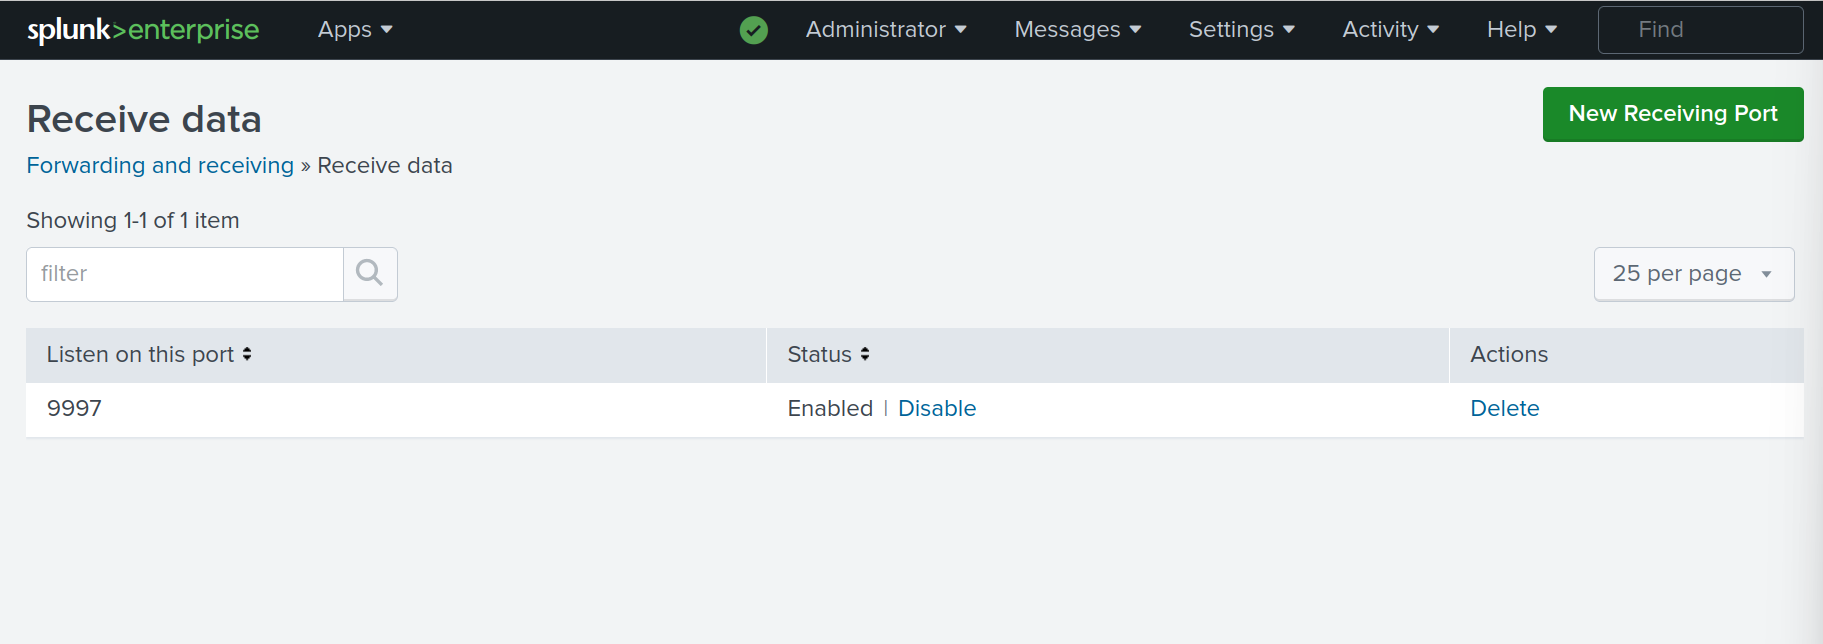
- Verify that your Listening Port is enabled, then check the IP-Address of your Splunk Server using the following command:
ip addr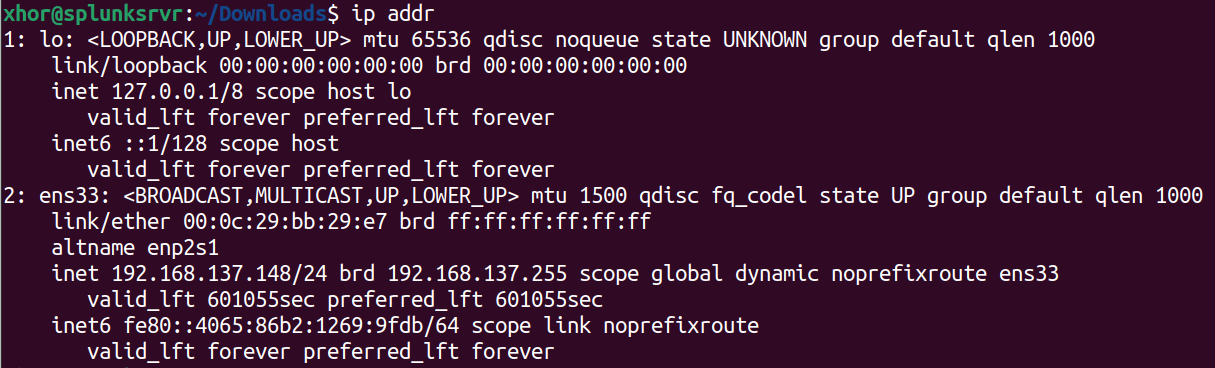
Note down the IP-Address your server uses.
2 - Forwarding Data from Windows Hosts
After Splunk Enterprise has been installed on our Ubuntu Server, it's time to forward data to it. We will do so using Splunk Universal Forwarder. Follow these steps:
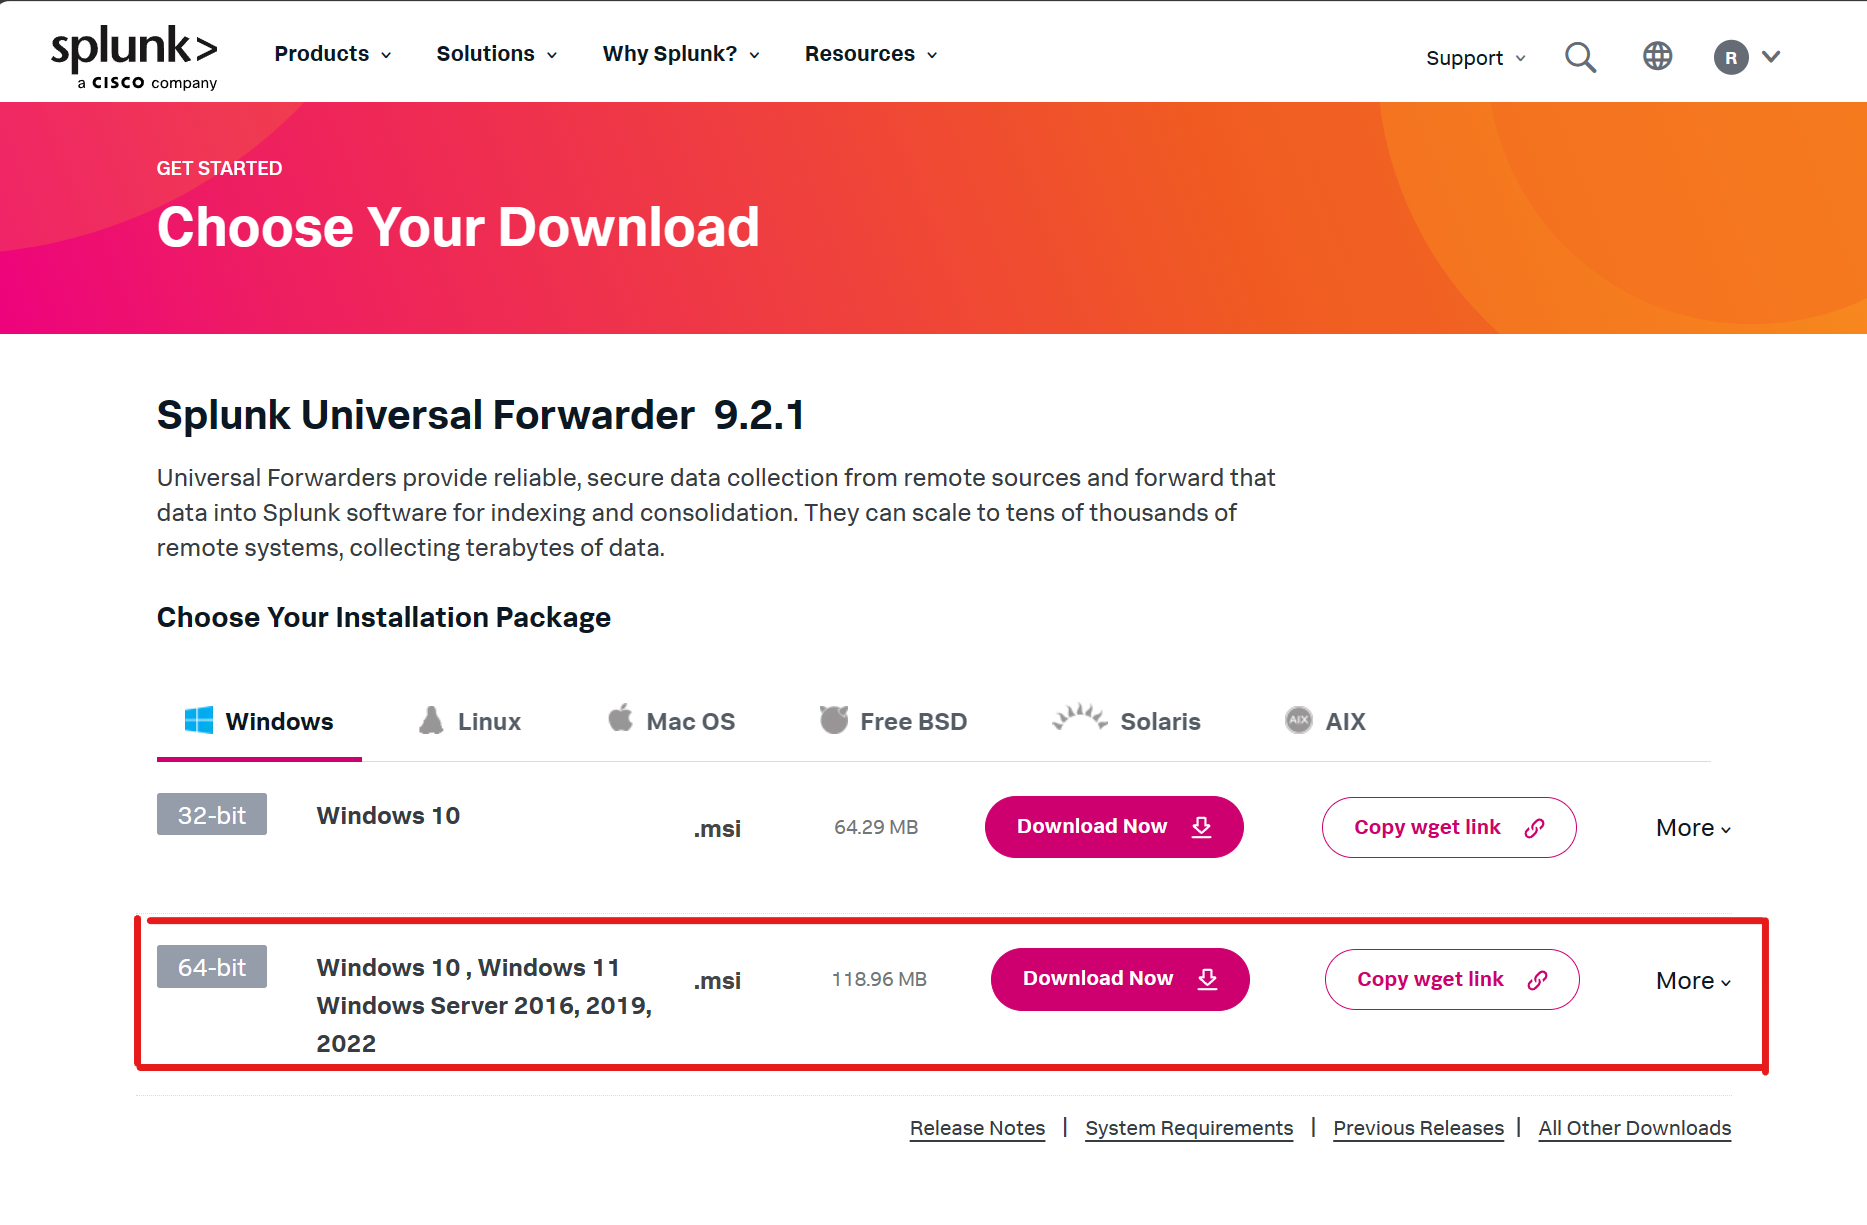
- Download the Splunk Universal Forwarder onto the Windows Host. Again, do so using your free account. I installed the 64-Bit Version:
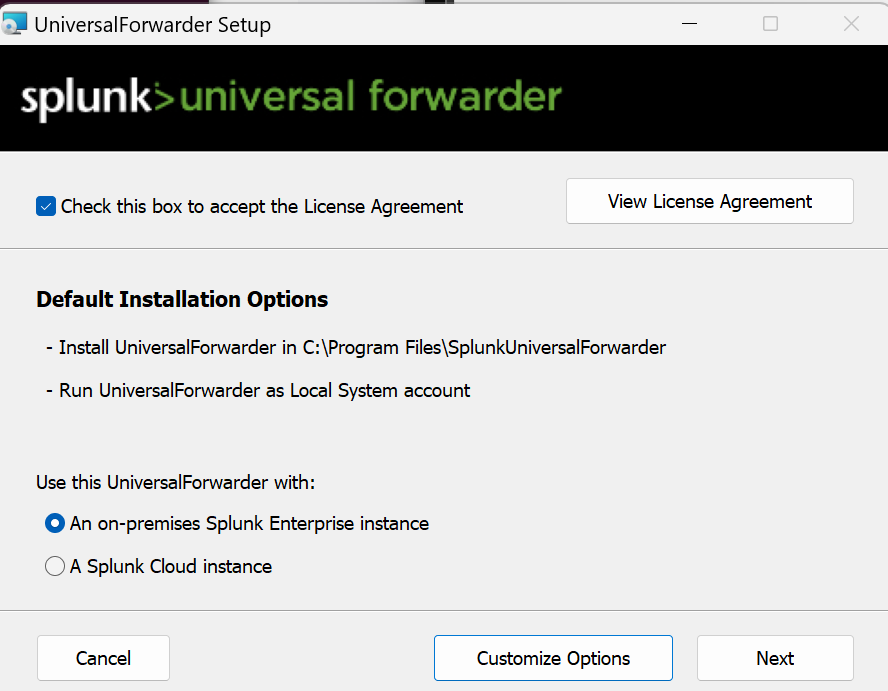
- Execute the downloaded .msi File on your Windows host. Check the License Agreement Box. Then click Customize Options:
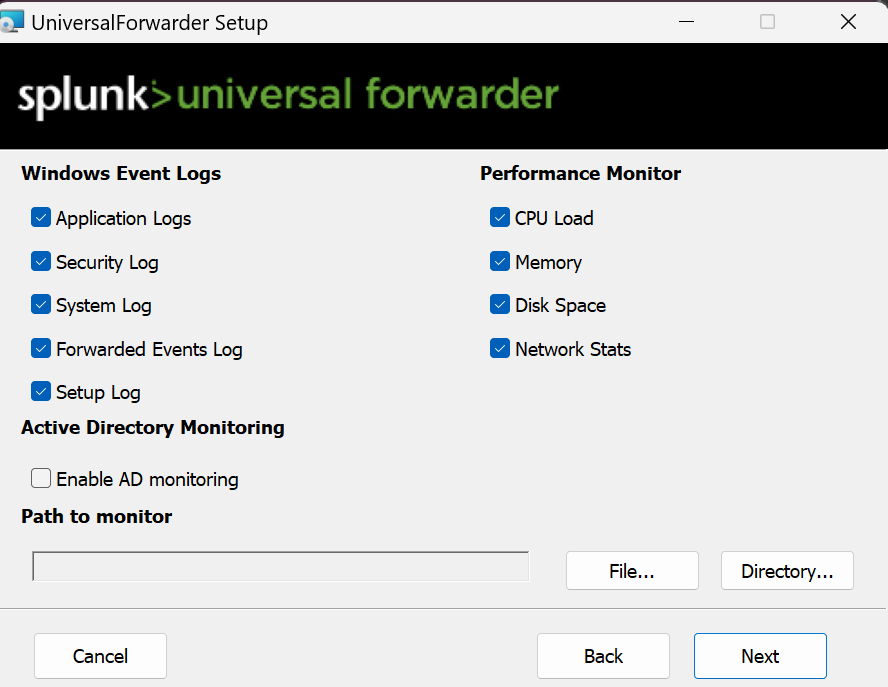
- Click Next until you get to the page shown in the picture below. Select all the data sources you want to collect. I chose everything, just for the sake of curiosity. Then click on Next:
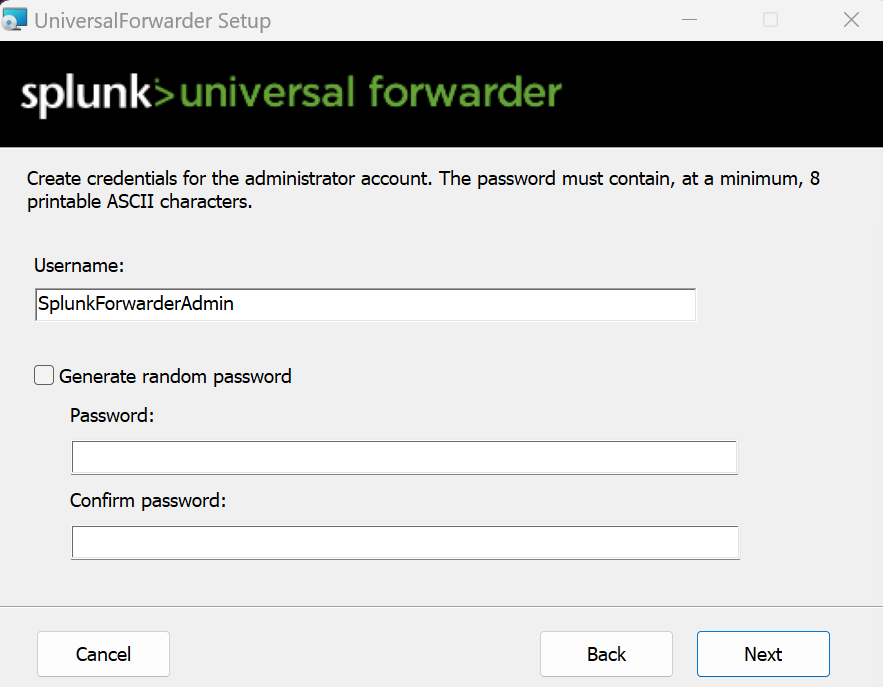
- Create an administrator account for the forwarder. Click Next after you're done:
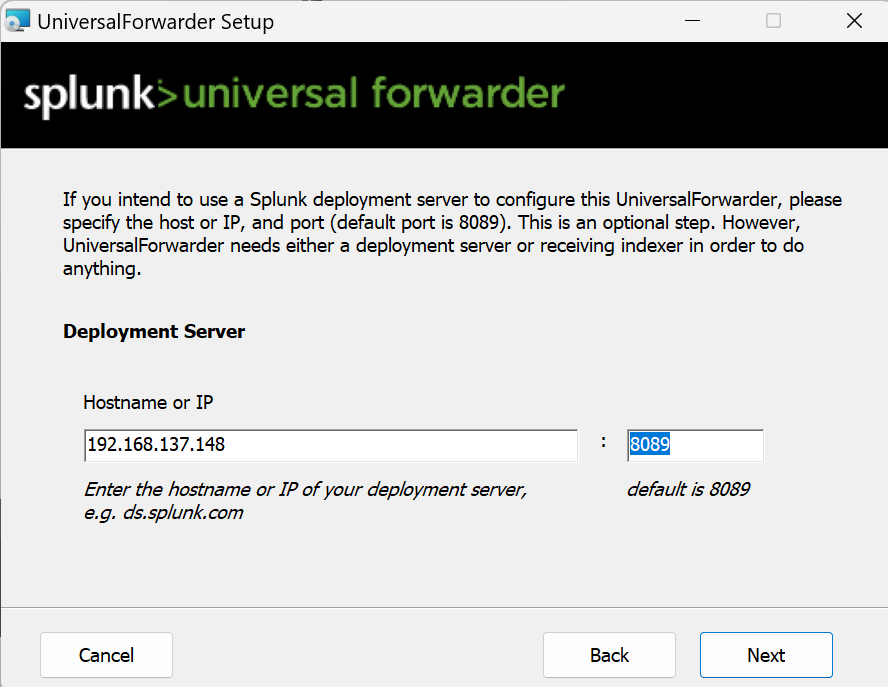
- In this step, we can configure a deployment server, which is useful when you have multiple hosts to manage. Enter the hostname/IP of your Splunk Enterprise Server and the Port (default if you haven't configured anything else). Then proceed by clicking Next.
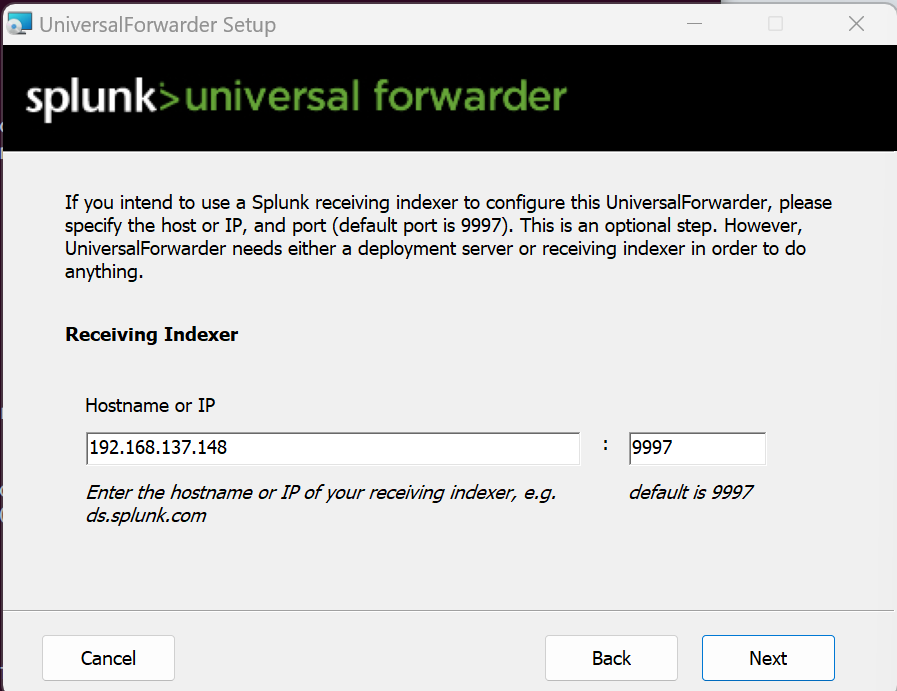
- Now enter the hostname/IP of your Splunk Enterprise Server, as well as the Port you configured for receiving Data:
- Click on Install, then Finish.
To uninstall your configuration, stop the service from running and uninstall Splunk Universal Forwarder in your Windows App-Settings.
3 - Testing your Setup
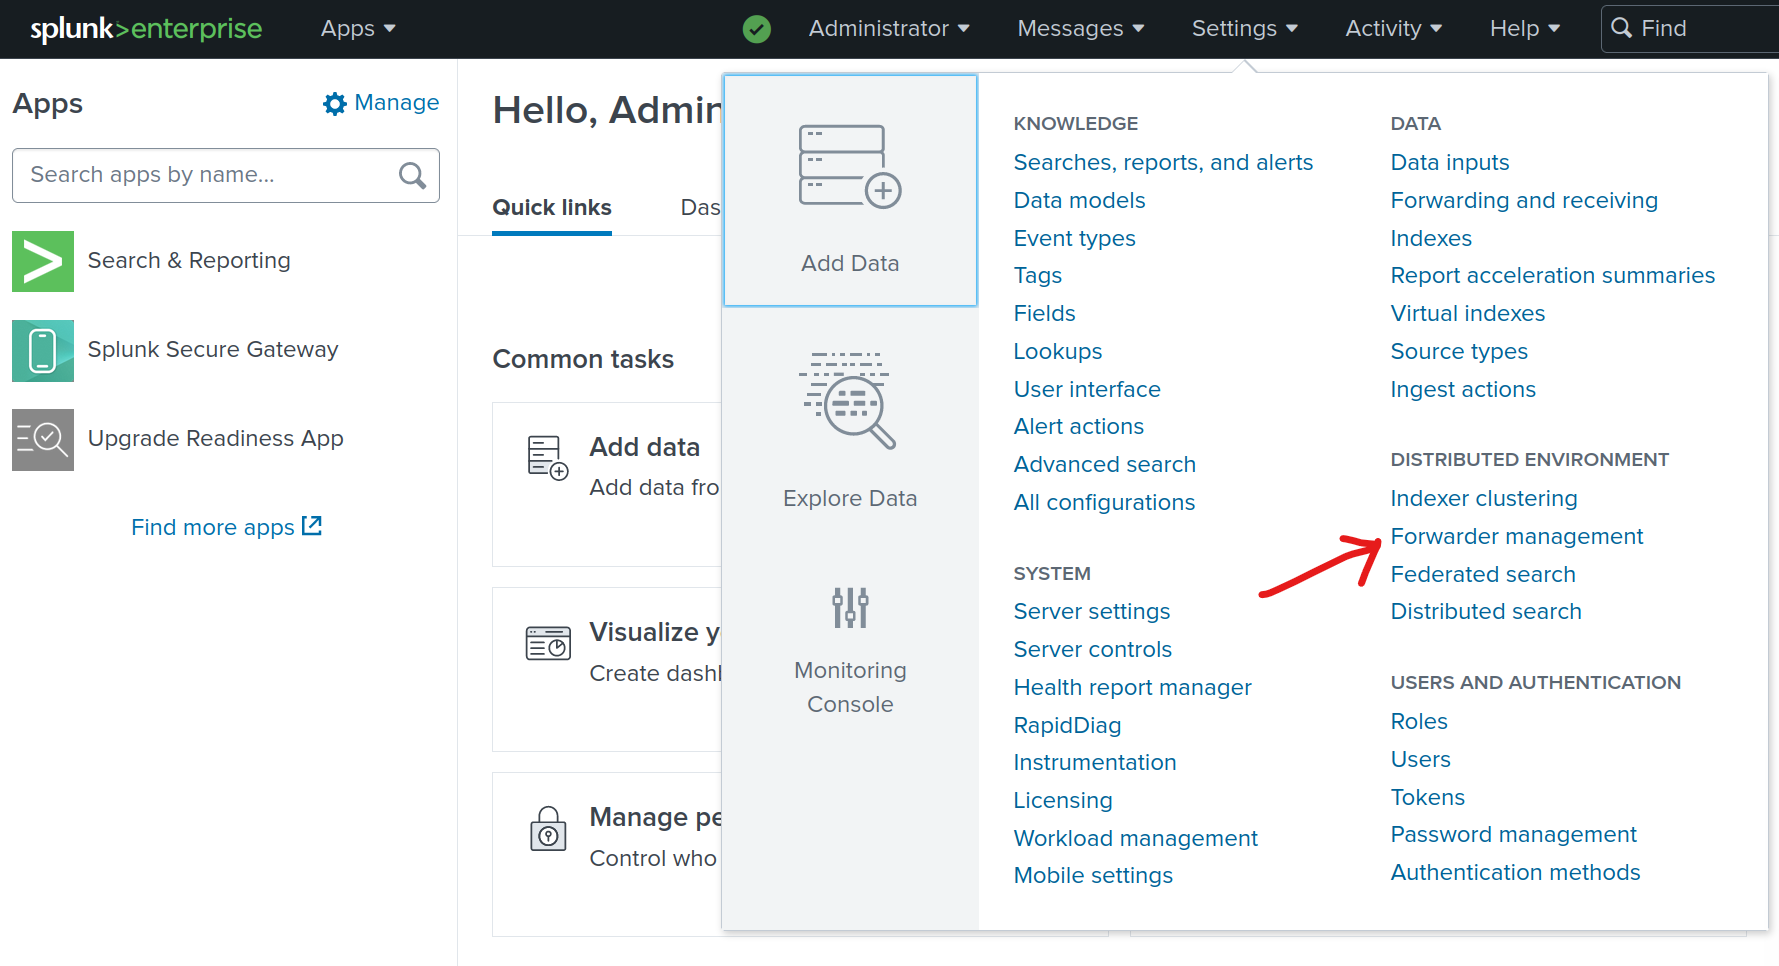
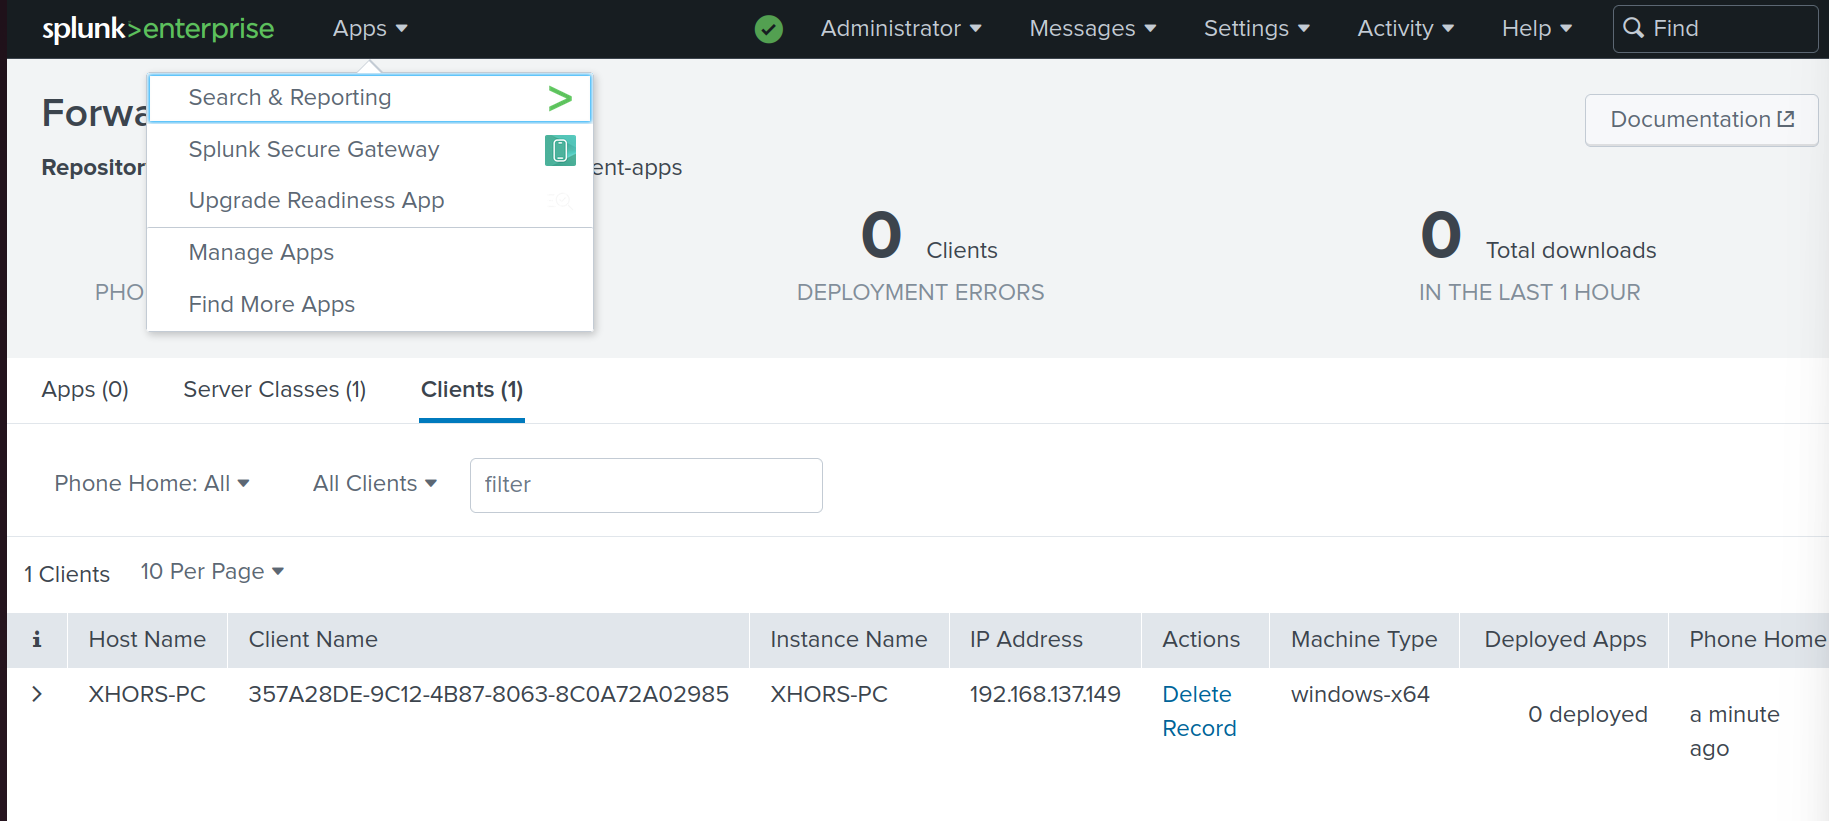
Now you have successfully configured the client to forward Data to our Splunk Enterprise Server running on Ubuntu Linux. If you configured the Deployment Server, you can verify that the Forwarder has connected to the Server by opening Settings > Forwarder Management:
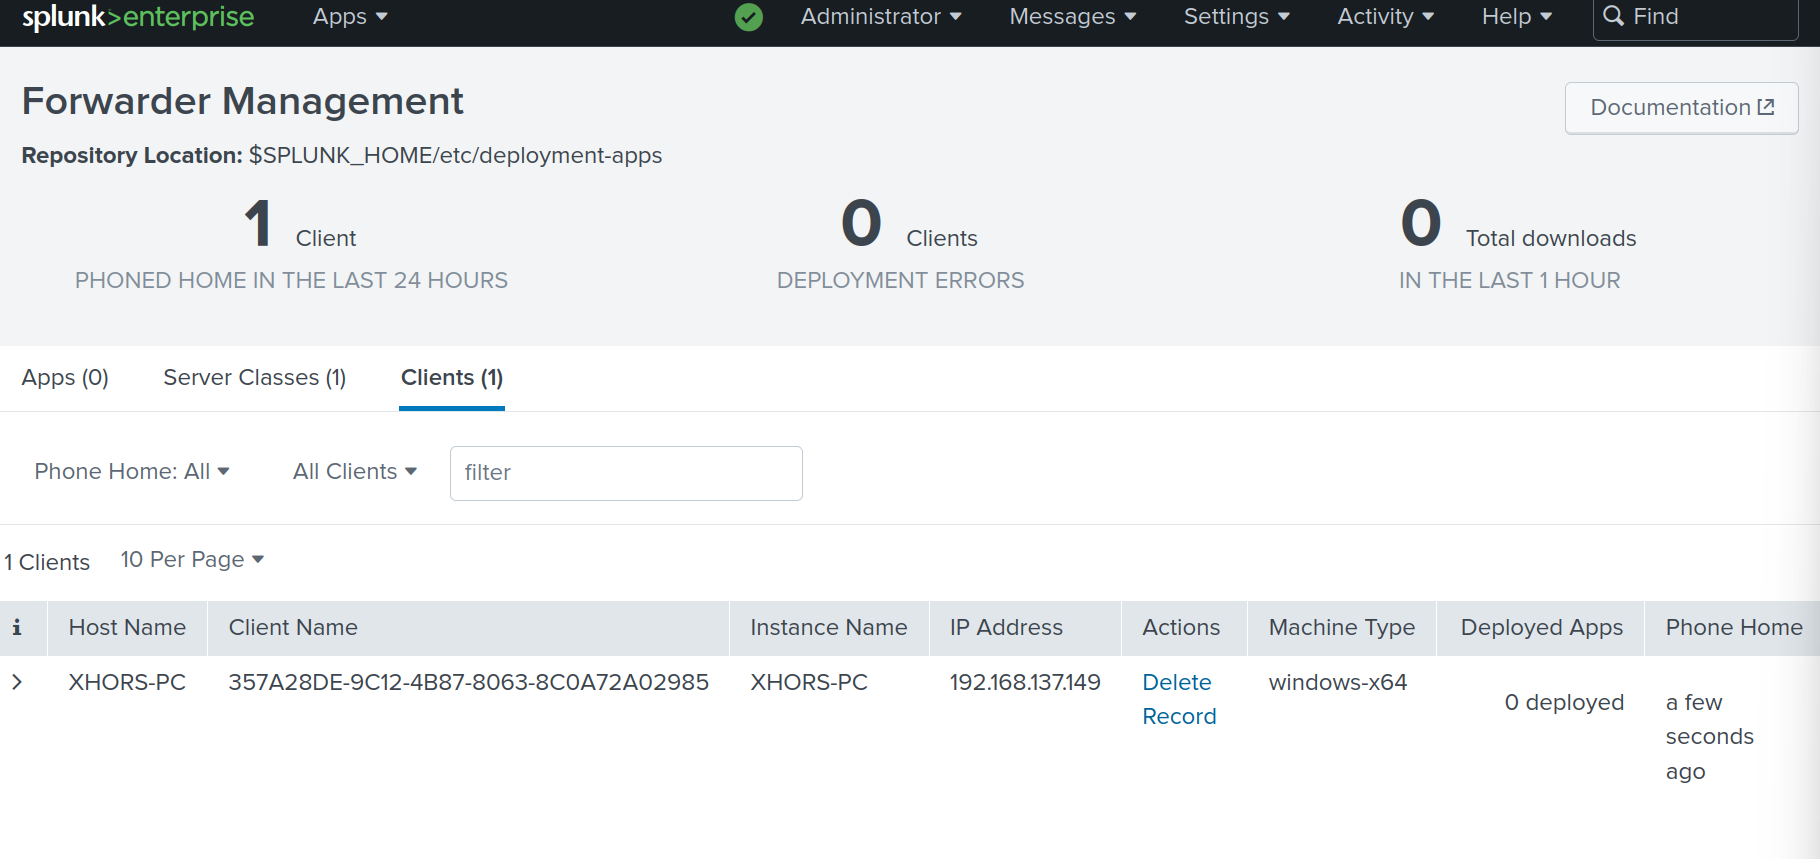
Then you should be able to see your onboarded Device:
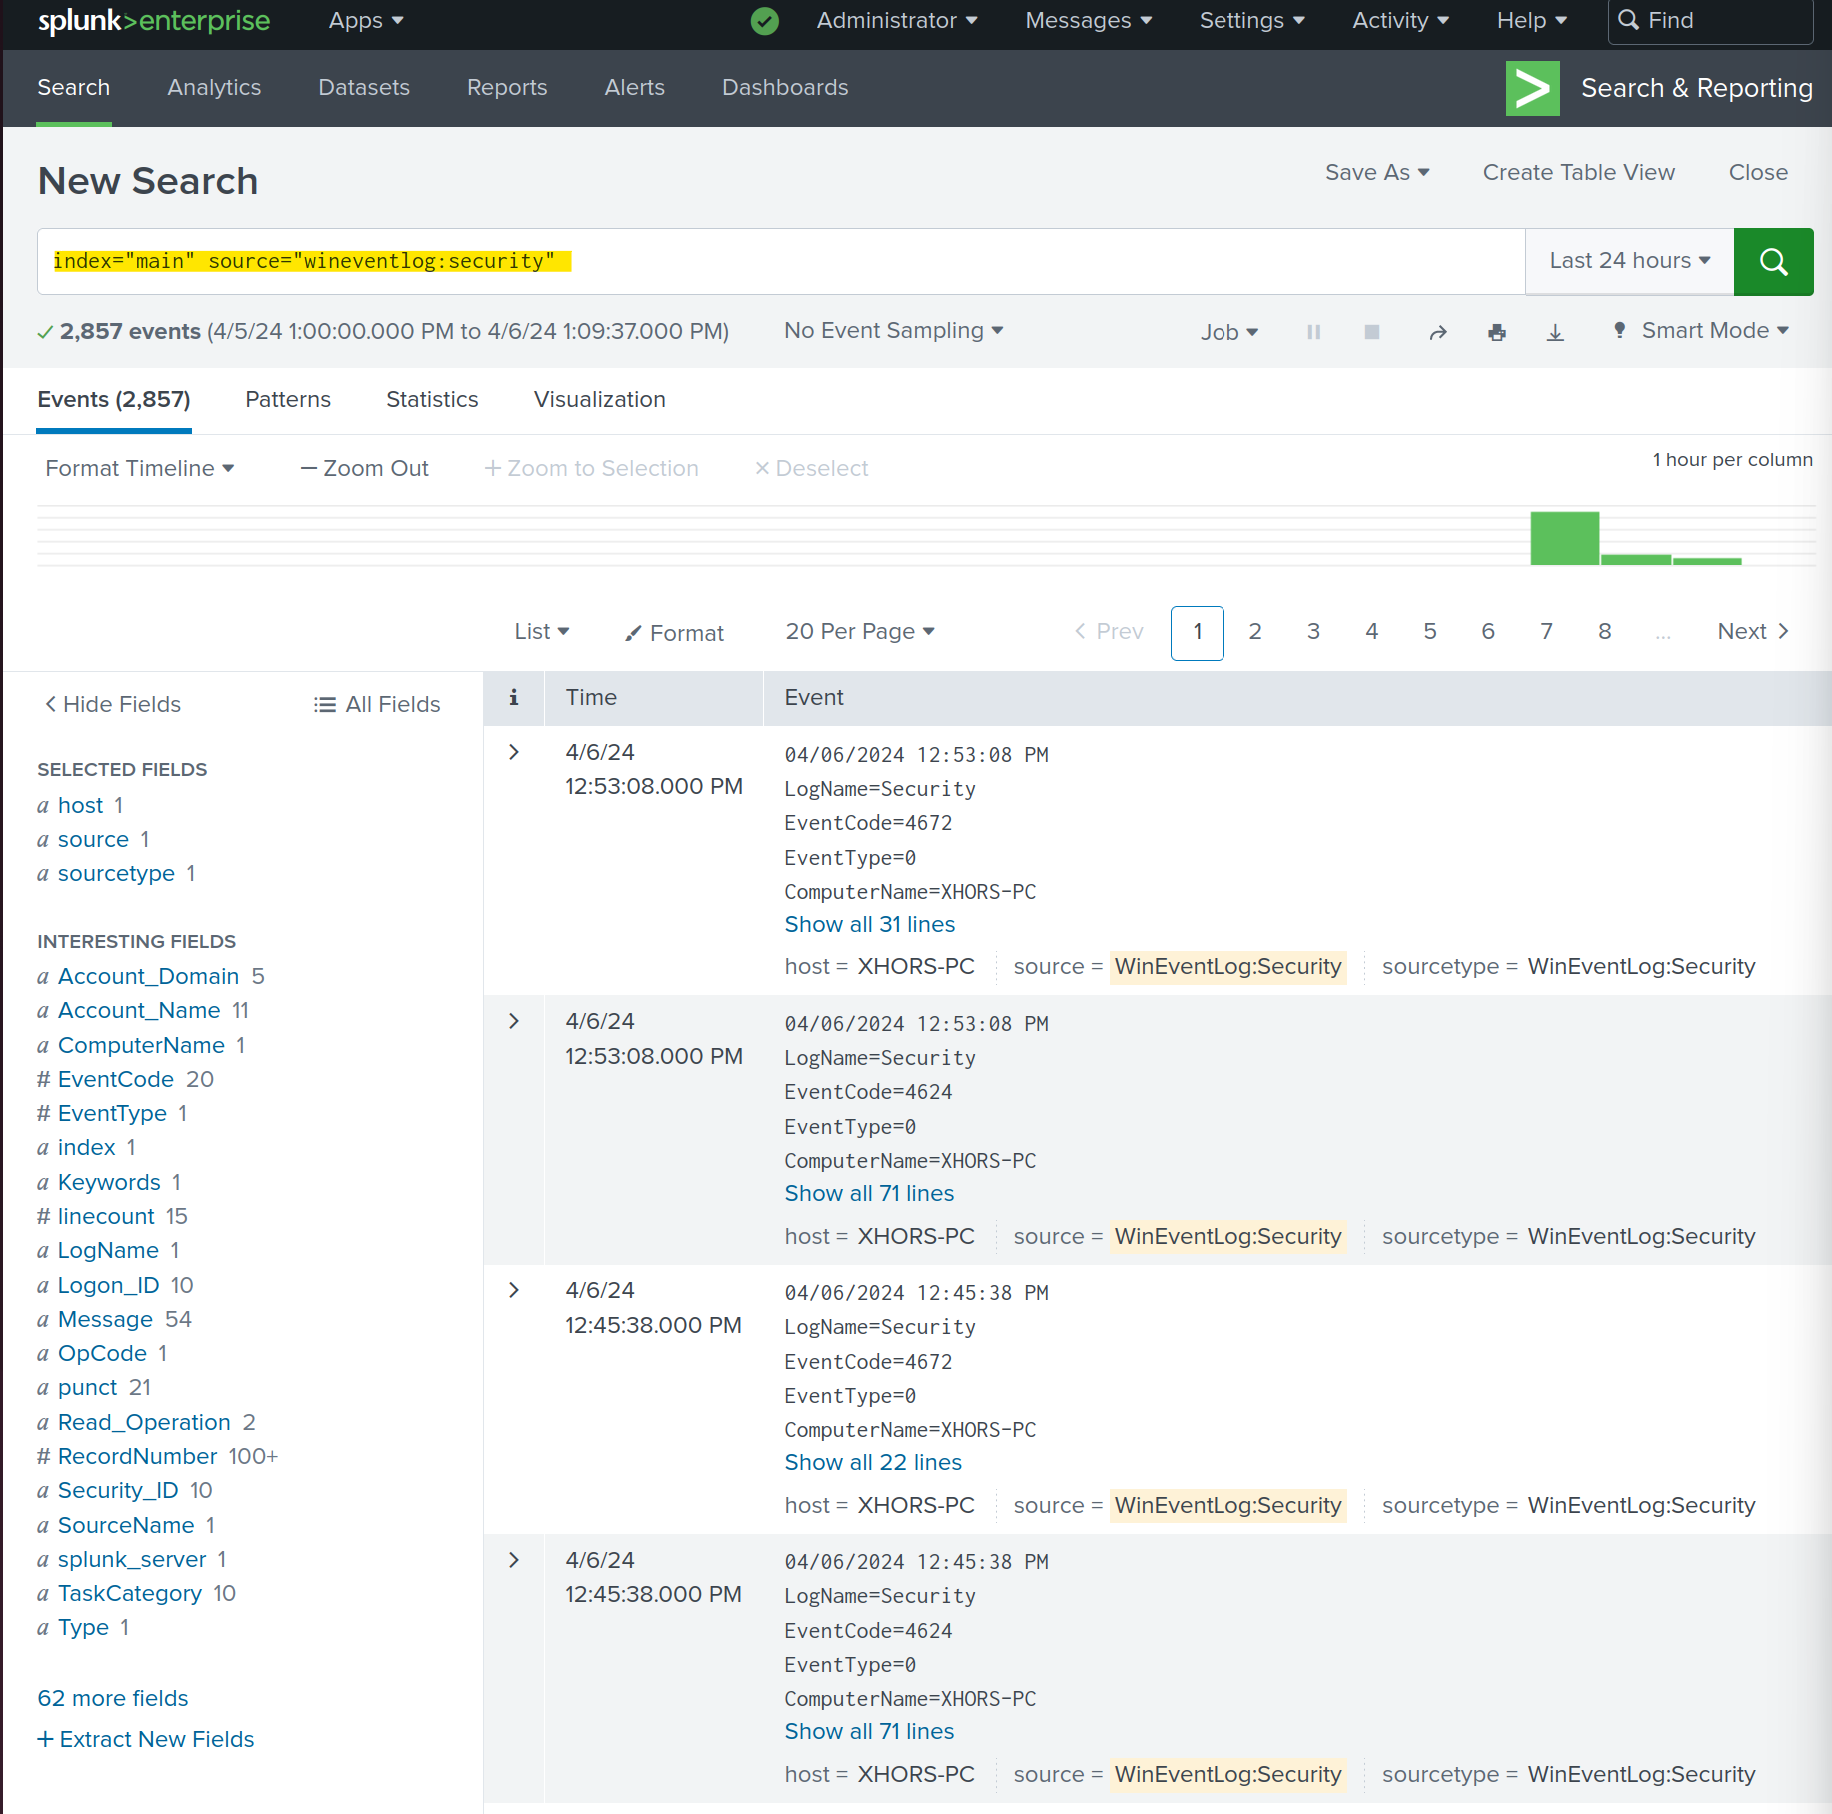
To run Splunk Processing Language (SPL) Queries, you can go to Apps > Search & Reporting and start querying data:
You can start by typing the following line into the search bar:
index="main" source="wineventlog:security"This line will return all logs collected from our Windows Security Event Logs. You can start to play around with the GUI and try out some SPL queries:
Now you have everything you need to get started with Splunk Enterprise!
Thank you for reading my blog post and I hope I could help you build your own SOC Lab!
Additional Info: Splunk CLI Cheat Sheet
Starting, Stopping, Restarting and checking Status of the Splunk Enterprise Server
===================================================================================

splunk start

splunk stop

splunk restart

splunk status


Add a Test-Event to the Splunk Index
===================================================================================

splunk add oneshot


Search Data in the Splunk Index
===================================================================================

splunk search <keyword>


More Information
===================================================================================

splunk help